How to Carpet Stairs: A Complete Step-by-Step Guide
Carpeting stairs is a practical upgrade that can improve safety, reduce noise, and add a polished look to your home. If you’re considering this project, you’ll want a clear plan, the right materials, and a careful approach to installation. In this guide, you’ll learn why carpeting stairs matters, what you need, and how to complete the job with professional results. If you’re curious about how to carpet stairs, this step-by-step guide walks you through the process—from choosing carpet to finishing touches.
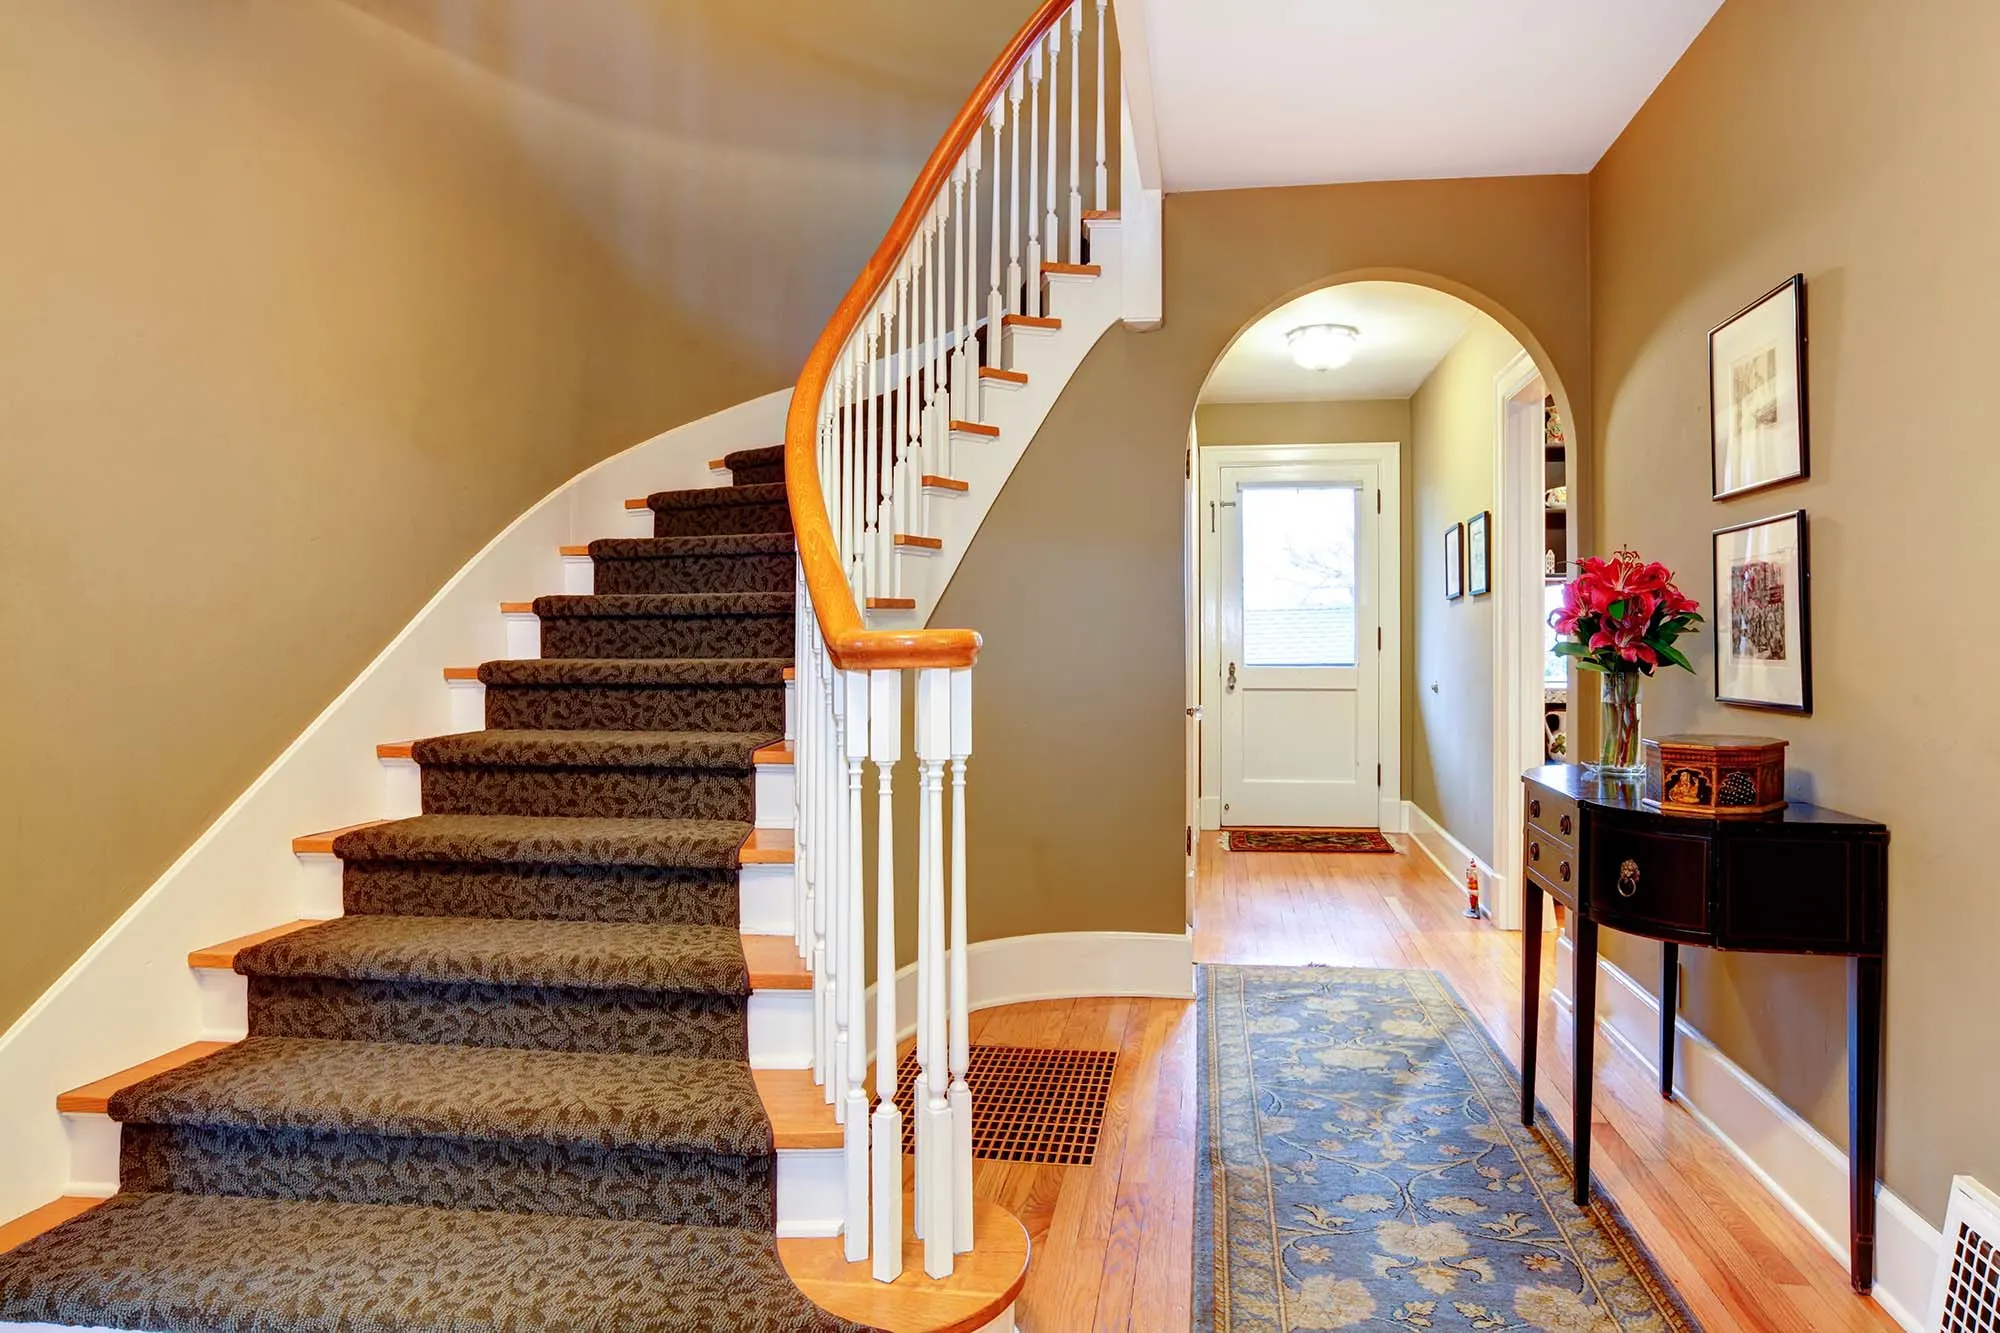
Why carpet stairs?
Stair carpeting offers several benefits beyond aesthetics. It softens footfalls, which helps prevent slips and reduces echo in hallways and stairwells. Carpet also protects wooden treads from wear and tear and can increase the perceived warmth of a home. When selecting materials, think about durability, pile height, and stain resistance. For high-traffic stairs, a low-pile or Berber-style carpet often performs well, while residential stairs with less traffic can handle a medium to plush pile for a more luxurious feel.
Choosing carpet and padding
Choosing the right carpet and padding is essential for a long-lasting installation. Look for a carpet specifically rated for stairs or heavy traffic, with a tight weave and good fiber resilience. Padding should be thicker and denser than standard room padding to withstand foot traffic and to create a comfortable feel underfoot. A quality pad also helps reduce noise and extends the life of the carpet. Consider color and texture that complement nearby flooring and décor, as stairways are highly visible in most homes.
Tools and materials
Prepare a well-stocked workspace before you begin. Typical tools and materials include:
- Measuring tape and straight edge
- Hammer and pry bar for removing old staples
- Carpeting adhesive or gripper rods and carpet tacks
- Stair nose molding orQuarter round trim (optional)
- Utility knife and carpet seams roller
- Carpet padding appropriate for stairs
- Staple gun and heavy-duty staples
- Safety gear: gloves and eye protection
Step-by-step: how to carpet stairs
Follow these steps to achieve a clean, durable installation. If you’re unsure at any point, consider consulting a professional for a precise fit and finish.
- Remove old carpet and inspect: Take off the old carpet, staples, and any trim. Inspect the treads for damage; repair as needed.
- Measure and cut padding: Measure each stair tread and riser, then cut padding pieces slightly smaller than the tread to ensure a secure edge. Install padding first as a uniform base for the carpet.
- Install tack strips or gripper rods: Place tack strips along the back edge of each tread and at the top of the stairs, ensuring even spacing. Nails or staples should face downward to grip the carpet.
- Lay the carpet and staple: Unroll the carpet and position it over the steps. Start at the bottom stair, align the pile direction, and stretch the carpet to fit, using a knee kicker or power stretcher if needed. Secure with staples along the back edge of each tread and along the risers where exposed.
- Trim and seam: Use a sharp utility knife to trim excess carpet at the edges. If you have a seam, align edges carefully and press seams flat with a seam roller to prevent lifting.
- Install nosing and trim: Attach stair nosing or trim pieces to finish the edges, hiding any cuts and creating a clean, professional look. Re-secure with nails or adhesive as recommended by the trim manufacturer.
- Final adjustments: Tidy up by trimming any loose threads, checking for tightness, and brushing the carpet fibers to stand upright. Vacuum thoroughly to set the fibers in place.
Tips for a professional finish
To achieve a showroom-quality result, keep a consistent tension as you stretch the carpet, work in sections, and double-check measurements before cutting. Using the right padding is crucial for longevity; a thicker pad often pays off in the long run. For curved or winding staircases, extra patience and careful trimming around corners can make a big difference. If you want to see more detailed techniques, explore resources from trusted home improvement sources and consider hiring a pro for complex stair layouts.
For more ideas and resources, you can visit the NewPape homepage and explore related tutorials and shopping guides.